A Small Switch Tower

Share your projects with the community! Take those snapshots now!
Post Reply
treadhead1952
Posts: 15
Joined: Thu Sep 24, 2009 4:14 pm
Anti-spam Test 1: No
Anti-spam Test 2: 5

Fri Oct 16, 2009 3:08 pm

Hi All,

I have a small RR layout in N Scale that was in need of a few structures so I started tinkering with the software to come up with some things to fit in there. As my layout, a 4X4 foot sized scene, is somewhat on the small side, building sites are at a premium and will have to be figured out carefully to be able to blend scenery and structures into as pleasing a pattern as I can come up with. Since I have a siding track off of one side, the first thing that came to mind was a Switch Tower to operate the two ends of the siding. While there are several kits available and some at modest prices, I wanted to use the features of the software more than anything else.

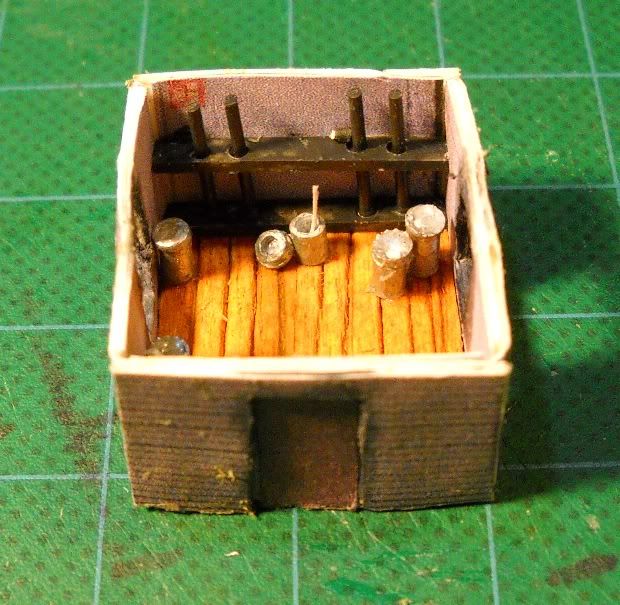
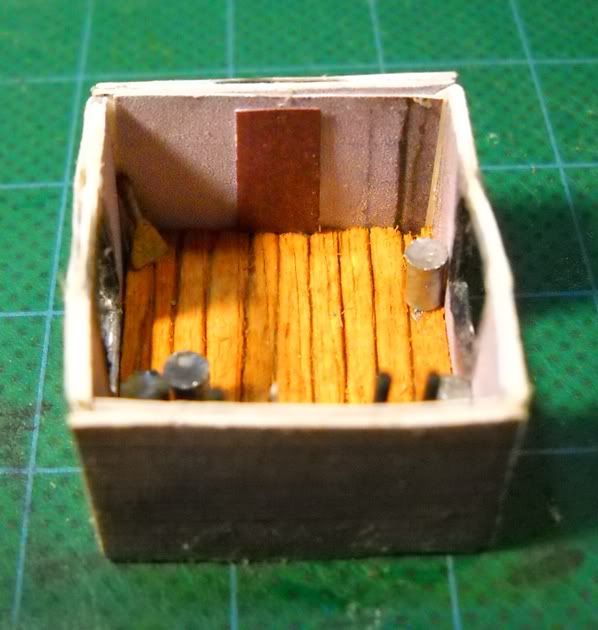
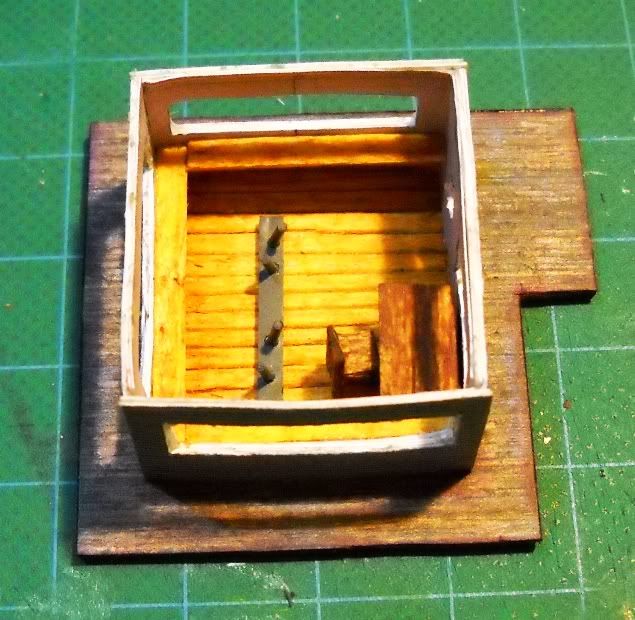
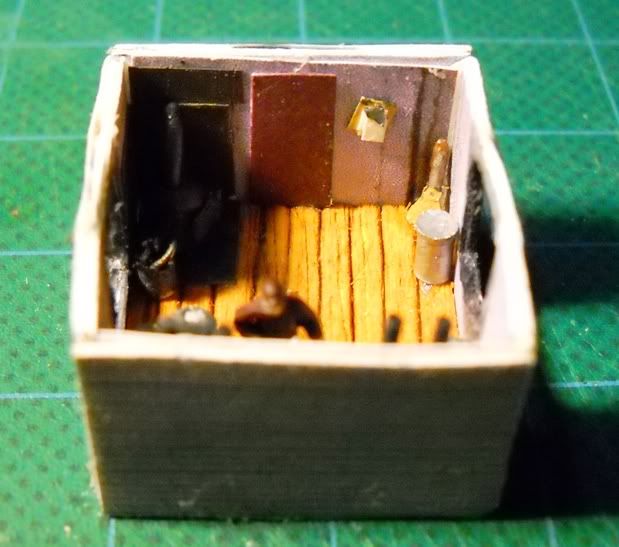
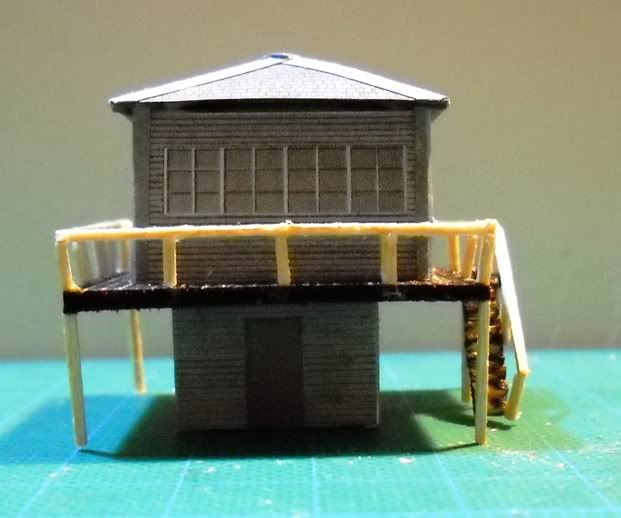
This is the first trial run to see if I got it right as far as the parts connecting together and fitting properly. I used balsa wood to back up the walls and make the deck on the second level. I have since made up a floor from the wood patterns available and added it to the design sheet. The railings and stair case are just rough outs to see how this would work. When I go to build up the finished version for the layout, it will have interiors and a better set of clear windows and door sections that will be recessed to give it a more 3D look. I did add the corner trim to the upper level just to see how that worked out to cover those areas, the lower floor will get the same treatment on the final version. The roof panel was tossed together to see if I needed to make it larger or not. It should have some increased thickness to prevent the bow but as this is just a proof version, it shows the proof that I wanted.

Image

Image

Image

Image

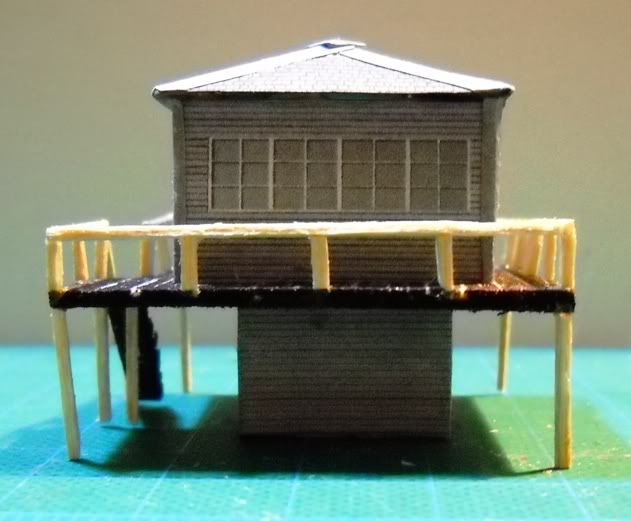
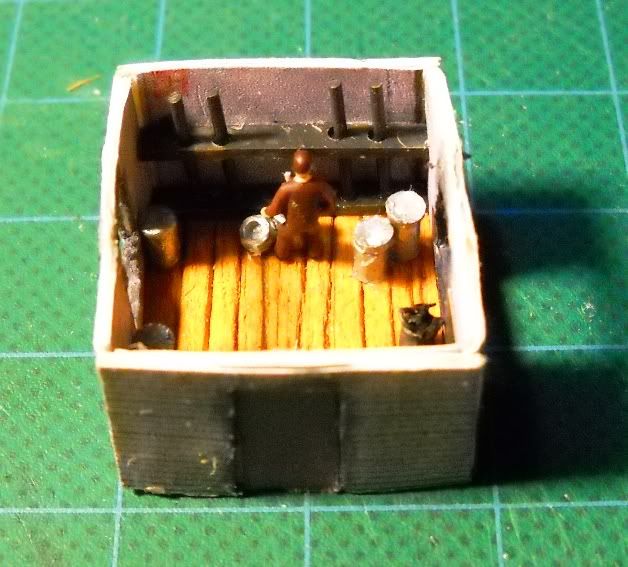
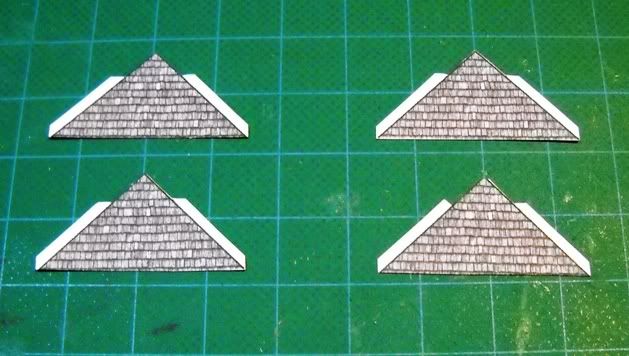
When I assembled the roof panels I cut in the tabs to allow it to be glued together like so. These need to be further modified so that it will sit like I want it to and I will add those modifications to the list of things to do with this little project.

Image

It has a two inch square footprint and is about one and three quarters of an inch tall so it doesn't soak up too much of the space available for properties on my little layout. This version will also be handy to use to see how to add it to the layout and any additions that I may want to make to the finished one look more like it belongs where it will go. I will post the construction of the final version as I work it out in this thread to act as a guide in assembling the project. I will also post the layout sheet in the downloads section for any who would like to try it out.

Jay
treadhead1952
Las Vegas, NV
evande
Site Admin
Posts: 372
Joined: Tue Sep 02, 2008 3:40 pm
Anti-spam Test 1: No
Anti-spam Test 2: 5
Location: Denver, CO
Contact:

Tue Oct 20, 2009 3:59 pm

Excellent switching tower! I think many would be happy just to have your rough-out ;)

Recessing the windows does make a big difference to the dimensionality of a project. You can print 2 copies of your building and on one copy cut out the windows and doors. Put the uncut version underneath the cut out one. In N scale just the thickness of the paper is enough to give a nice recess to the windows and doors. What we also like to do is use black or gray chalk on the white paper edges on the cut out so you see more shadow (and not white paper) on the frames. Here is a picture from a modeler who used the cut out method effectively:
Image


And great idea to make the interior! Many send us pictures of their interiors :
Image


We are really looking forward to following your build as you continue making your switching tower. Feel free to post pictures of your layout also. In my opinion it is better to have a 4 x 4 carefully planned and built than one twice the size with acres of empty track.
Evan Designs
treadhead1952
Posts: 15
Joined: Thu Sep 24, 2009 4:14 pm
Anti-spam Test 1: No
Anti-spam Test 2: 5

Tue Oct 20, 2009 10:56 pm

HI Evan,

I mostly built the first one just to see if the pieces parts fit up the way they were supposed to. I am already working over the final version, I have the lower floor built up with the interior layout parially finished. I used some sections of the industrial door pattern in light gray to furnish the inside walls. The switch rods that run from the floor to the ceiling are styrene rods supported by a pair of styrene strips drilled to fit. The floor is a chunk of balsa wood that I drew the floorboards in with a sharp pencil then oil washed with some Burnt Sienna and Light Yellow Oil paints. I added four unopened grease barrels and one open one with some more styrene tube sealed with styrene sheet tops punched out with a die. The interior door is an exterior door that was just added to the inside. I have to make up a doorknob and hasp and lock as well as a few other details for this section. I did add a broom in the corner for visual interest since that side was sorta bare. I am considering a either a coal or wood stove of some sort as well as a chair and some magazines in the corner. With the addition of a coal or wood stove, some sort of fuel storage would have to be included. I am considering adding one of your lighting packages to this as well in the 1.8mm warm white flavor.

Image

Image

The upper floor is not complete as yet but I do have a pretty good start on it. I used a wood textured sheet for the top and bottom sandwiched over another piece of balsa wood just so I could cut the center out of the top part to do the same treatment as I did to the lower section. A desk and chair along with some more shelves along the wall seemed like a good bet as well. The business end of the switch controls are more styrene rod and strip, still have to add a few details to them yet. A heating unit of some sort is also planned for up here too as well as a few bits of paper and "official" documents on clipboards and such.

Image

The windows are going to be built up from clear plastic and paper framing to be able to show off the interiors once installed. The railing around the exterior of the platform will probably wind up being styrene as well as the stairs leading to the upper level. So I am well on my way to making this one a lot better than the "trial version" so far.

Jay
treadhead1952
Las Vegas, NV
treadhead1952
Posts: 15
Joined: Thu Sep 24, 2009 4:14 pm
Anti-spam Test 1: No
Anti-spam Test 2: 5

Thu Oct 22, 2009 9:57 pm

Hi All,

I have been doing a bit more detailing to my lower floor section of the switch tower. I wanted to see how close all this was going to be to scale and I wanted to add a bit of interest to the area so I placed a figure from Model Powers' Working Men over the open grease bucket in front of the switch rods. I can say with confidence, the scale is right on.

Image

I moved the broom that I made to the opposite corner and added a clipboard from some bits of styrene sheet to the wall to hold the "Lube Schedule". Railroads being far too into all the little details of record keeping. ;)

Image

This move was to accomodate the addition of a coal stove and coal bucket along with some asbestos/tin sheeting to protect the wall and floor from getting scorched by the heat. These were made with some more styrene sheet, rod and tube, nice and simple stuff with the addition of a little paint look right in place in a setting like this. I am considering adding another figure, perhaps a "loafer" catching up on a little light reading on a chair in the corner with the broom.

Image

Jay
treadhead1952
Las Vegas, NV
Post Reply