A Small Switch Tower
Posted: Fri Oct 16, 2009 3:08 pm
Hi All,
I have a small RR layout in N Scale that was in need of a few structures so I started tinkering with the software to come up with some things to fit in there. As my layout, a 4X4 foot sized scene, is somewhat on the small side, building sites are at a premium and will have to be figured out carefully to be able to blend scenery and structures into as pleasing a pattern as I can come up with. Since I have a siding track off of one side, the first thing that came to mind was a Switch Tower to operate the two ends of the siding. While there are several kits available and some at modest prices, I wanted to use the features of the software more than anything else.
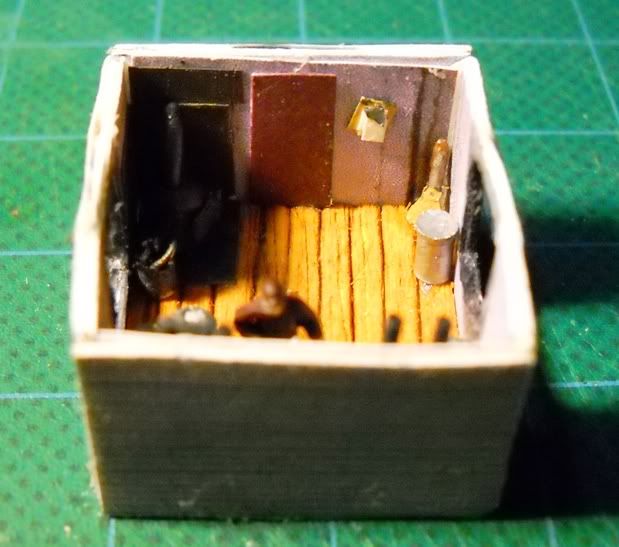
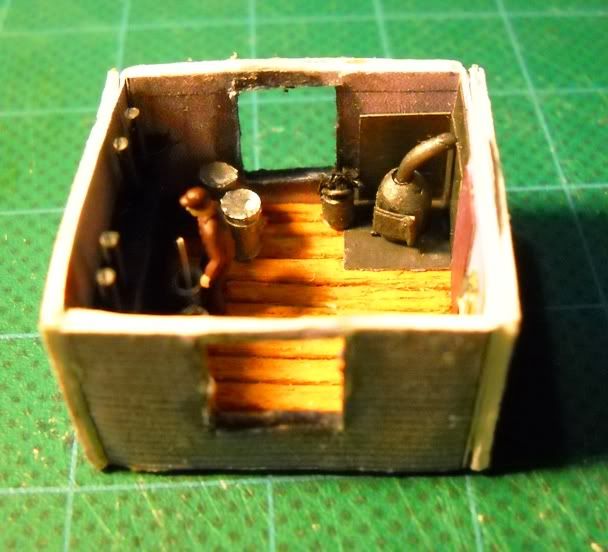
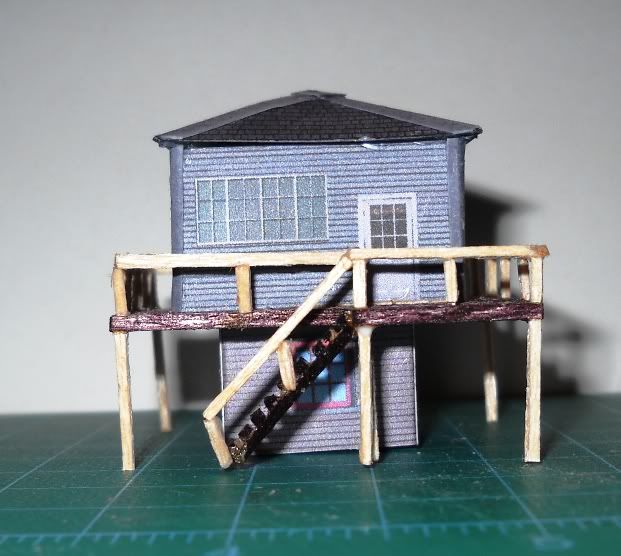
This is the first trial run to see if I got it right as far as the parts connecting together and fitting properly. I used balsa wood to back up the walls and make the deck on the second level. I have since made up a floor from the wood patterns available and added it to the design sheet. The railings and stair case are just rough outs to see how this would work. When I go to build up the finished version for the layout, it will have interiors and a better set of clear windows and door sections that will be recessed to give it a more 3D look. I did add the corner trim to the upper level just to see how that worked out to cover those areas, the lower floor will get the same treatment on the final version. The roof panel was tossed together to see if I needed to make it larger or not. It should have some increased thickness to prevent the bow but as this is just a proof version, it shows the proof that I wanted.
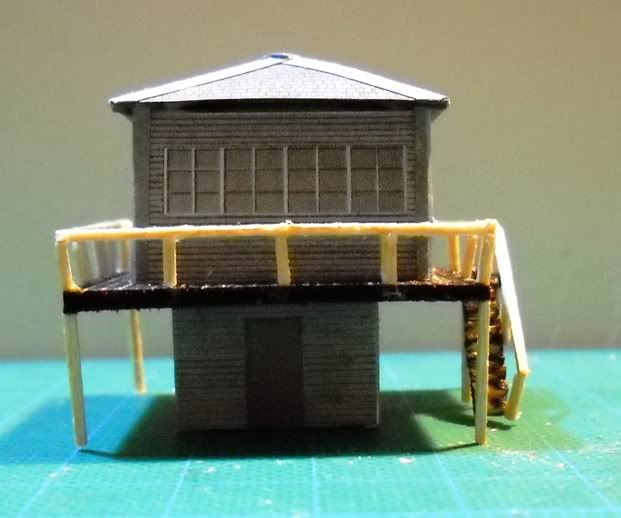
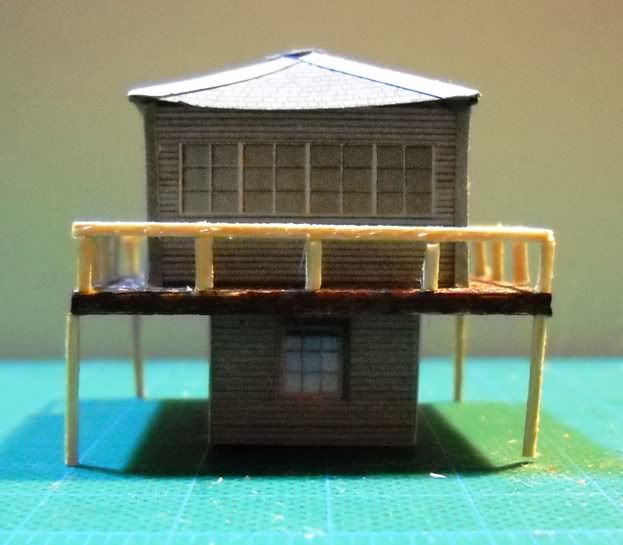
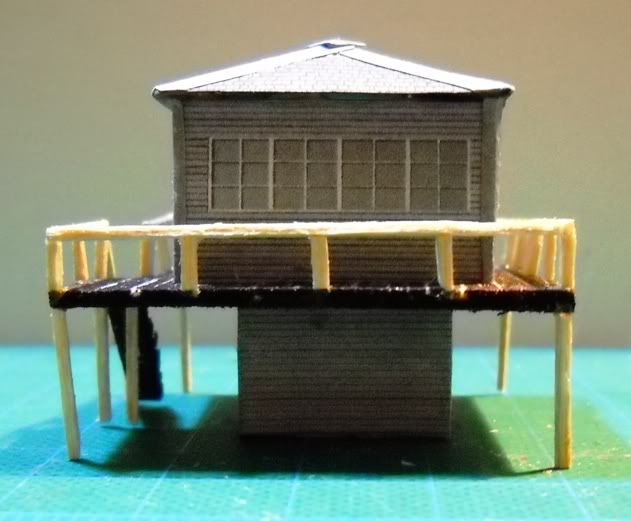
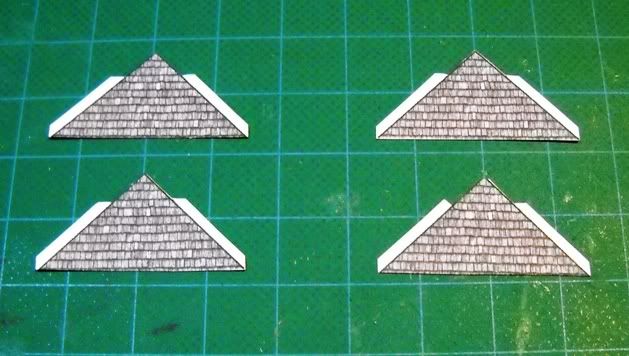
When I assembled the roof panels I cut in the tabs to allow it to be glued together like so. These need to be further modified so that it will sit like I want it to and I will add those modifications to the list of things to do with this little project.
It has a two inch square footprint and is about one and three quarters of an inch tall so it doesn't soak up too much of the space available for properties on my little layout. This version will also be handy to use to see how to add it to the layout and any additions that I may want to make to the finished one look more like it belongs where it will go. I will post the construction of the final version as I work it out in this thread to act as a guide in assembling the project. I will also post the layout sheet in the downloads section for any who would like to try it out.
Jay
treadhead1952
Las Vegas, NV
I have a small RR layout in N Scale that was in need of a few structures so I started tinkering with the software to come up with some things to fit in there. As my layout, a 4X4 foot sized scene, is somewhat on the small side, building sites are at a premium and will have to be figured out carefully to be able to blend scenery and structures into as pleasing a pattern as I can come up with. Since I have a siding track off of one side, the first thing that came to mind was a Switch Tower to operate the two ends of the siding. While there are several kits available and some at modest prices, I wanted to use the features of the software more than anything else.
This is the first trial run to see if I got it right as far as the parts connecting together and fitting properly. I used balsa wood to back up the walls and make the deck on the second level. I have since made up a floor from the wood patterns available and added it to the design sheet. The railings and stair case are just rough outs to see how this would work. When I go to build up the finished version for the layout, it will have interiors and a better set of clear windows and door sections that will be recessed to give it a more 3D look. I did add the corner trim to the upper level just to see how that worked out to cover those areas, the lower floor will get the same treatment on the final version. The roof panel was tossed together to see if I needed to make it larger or not. It should have some increased thickness to prevent the bow but as this is just a proof version, it shows the proof that I wanted.


When I assembled the roof panels I cut in the tabs to allow it to be glued together like so. These need to be further modified so that it will sit like I want it to and I will add those modifications to the list of things to do with this little project.

It has a two inch square footprint and is about one and three quarters of an inch tall so it doesn't soak up too much of the space available for properties on my little layout. This version will also be handy to use to see how to add it to the layout and any additions that I may want to make to the finished one look more like it belongs where it will go. I will post the construction of the final version as I work it out in this thread to act as a guide in assembling the project. I will also post the layout sheet in the downloads section for any who would like to try it out.
Jay
treadhead1952
Las Vegas, NV
